

Pause Before Timers Matter
Stop AP drain while choosing a matchup, splitting a Totem, healing, or protecting rare loot.
Independent · Source-Checked · Updated 21 Aug 2026
Direct answers for the systems Stackmon leaves you to discover: hidden controls, route tactics, evolution reactions, resource loops, rare variants, and Stackas.
Choose Your Next Move
Open packs, gather resources, earn Adventure Points, prepare your backpack, battle, and capture your first wild Stackmon.
OpenFind eligible Stackmon by their highlighted frame, then test the base gem or a resource-assisted evolution path.
OpenCompare pack cycling, exploration trees, mission rewards, and the community-reported Lumber House route.
OpenSeparate Shiny stats from Foil presentation, then decide when a one-catch Stacka deserves a longer hunt.
Open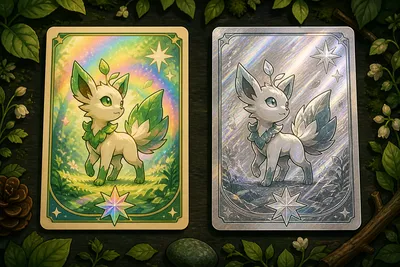
collecting
Shiny, Foil and Golden are separate Stackmon rarities: Shiny changes base stats, Foil is presentation and value, Golden can roll in the wild or in packs.
collecting
Plan Stacka encounters carefully: official achievements mark them as special collection goals, while players report that each Stacka can be caught once.
guides
New to Stackmon? The first-session route: open packs, work resource cards, earn Adventure Points, prep your backpack, battle, capture and bank them safely.
guides
Use Stackmon board shortcuts, worker assignments, backpack planning, combat timing, status rules, and recovery tactics discovered across launch walkthroughs.

guides
Fix a Stackmon wood shortage by cycling the starter pack, spending AP on forest routes, completing construction missions, and scaling a Lumber House.
mechanics
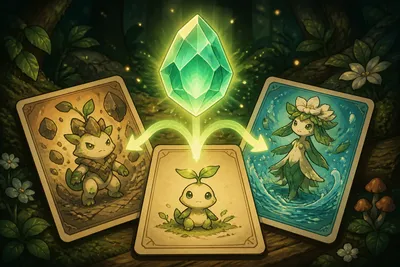
Drag an Evolution Gem to reveal compatible Stackmon, drop it on the highlighted card, and add a second resource when that evolution needs a reactant.
Each guide separates official facts, current community reports, and older playtest footage so you can see what is confirmed.
The shortest reliable route from camp preparation to a successful capture.
Open packs and work resource cards
Complete missions to gain Adventure Points
Pack Stackmon, healing, and Stack Totems
Explore, battle automatically, then capture
View all
A no-waste sequence for finding compatible Stackmon and identifying extra reactants.
Highlight
Eligible Stackmon receive a visible frame while you drag the Gem
Base Gem
Drop the Gem directly when no additional material is required
Branch
Some paths use the Gem with a resource such as Rock or Water
View all
Choose the least painful wood source for your current progression point.
Early
Cycle the first pack and sell surplus cards
Explore
Spend AP on forest routes, trainers, trees, and loot
Scale
Build and upgrade a Lumber House after iron access
View all
Know what you are hunting before committing AP or a one-time catch.
Shiny
Community reports connect Shiny cards to maximum base stats
Foil
Foil is a separate visual treatment with card-value benefits in footage
Stacka
Community reports each Stacka can only be caught once per save
View all
Tested Across Creator Walkthroughs
These are practical habits repeated across launch footage, with version-sensitive bindings and numbers deliberately left out.
Open all hidden controlsStop AP drain while choosing a matchup, splitting a Totem, healing, or protecting rare loot.
Permanent Scout clears can make later visits cheaper; gather optional resources after the key fight.
A Revive Gem cannot rescue a solo fighter after it faints if no teammate remains conscious.
Separate a single healing item or Stack Totem before dragging it into a timed decision.
Put several compatible workers on a mission-critical resource, then return them to normal lanes.
Treat night as an alternate encounter route after your team has coverage, healing, and spare AP.
Short answers with a clear boundary between official information and player-reported mechanics.
Start with the beginner route, then open the exact mechanic page when a Gem, resource, or rare variant blocks your next move.